STEM at home
Paper Bridge STEM Activity for Kids: Fold, Test and Draw
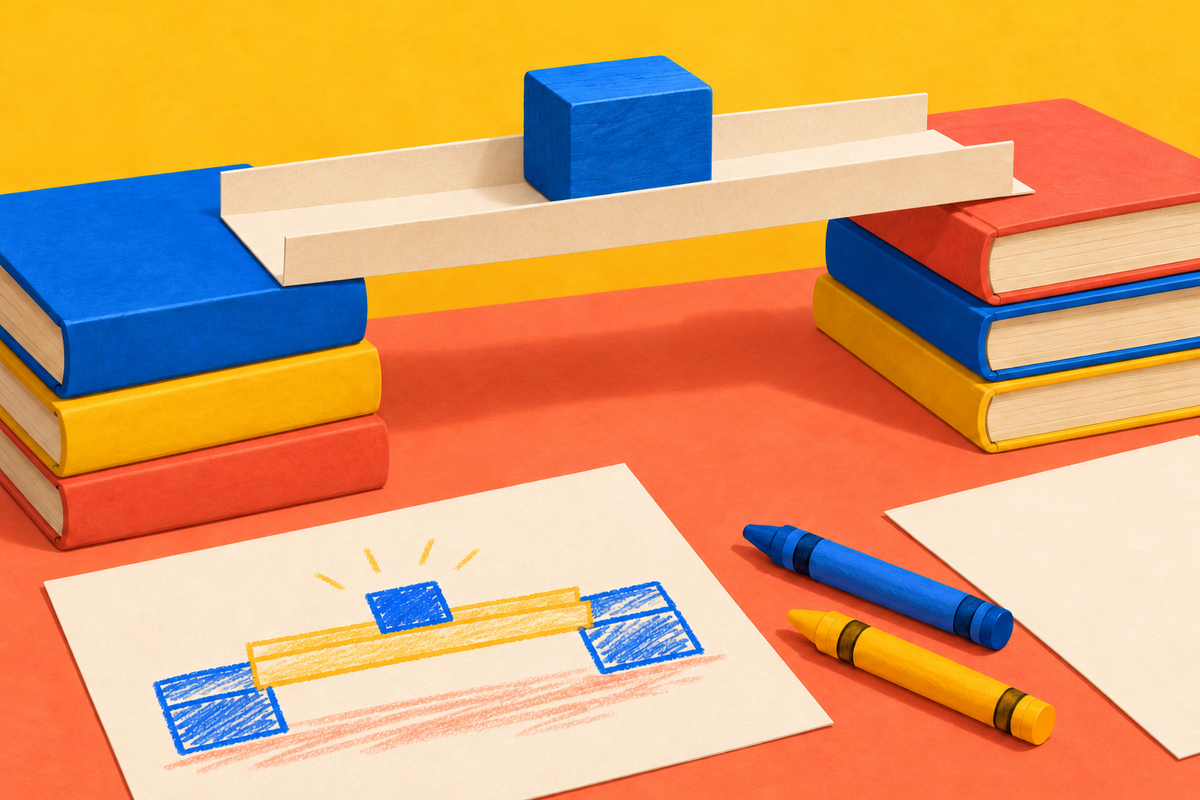
Can a sheet of paper become a bridge? Try placing it across two low stacks of books, then change its shape and test it again. This paper bridge activity gives children a simple question to investigate: what happens when we add folds? Finish by drawing a bridge with a destination only your child could imagine.
You need ordinary paper, books and one large building block. Allow about 15–20 minutes, or stop after one comparison if that suits your child. The aim is to notice what changes, not to build a perfect model.
What you need
- Three sheets of the same printer paper
- Two stable stacks of closed books, the same height
- One large, lightweight building block
- Chunky crayons and an extra sheet for drawing
- A ruler, optional for older children
Work on the floor or a low, clear surface with an adult. Use a block too large to fit in a young child’s mouth. Keep coins, beads and other small test weights out of this version. The featured illustration shows the idea; your paper, gap and block will determine what actually happens.
Build, test and change your paper bridge
- Make a short gap. Set the book stacks roughly 15 cm (6 inches) apart. Keep them low and steady. Lay a sheet across them with its long direction spanning the gap and several centimetres resting on each stack.
- Try the flat sheet. Ask, “What do you think will happen?” Gently place the block in the middle. Watch whether the paper stays up, bends or slips. Remove the block before adjusting anything.
- Add two side rails. Take a fresh matching sheet. Fold about 2 cm (¾ inch) of each long edge upward. The folds should run from one book stack to the other, parallel to the span. You now have a flat road with two raised sides, like a shallow tray.
- Test again. Keep the books in the same places. Rest both ends of the new bridge on them, then put the same block in the same middle position. What looks different? A sagging bridge is useful evidence too.
- Try your child’s idea. Use the third sheet for one change: taller rails, a folded tube or another shape they suggest. Sketch it before testing. If the block will not fit, choose one suitable block for all the designs and start the comparison again.
Why can folds make a difference?
A paper sheet bends easily in some directions. Changing its shape can make it resist bending more effectively. Raised side sections can stiffen a bridge without adding more paper. Science Buddies explains this relationship between shape and strength in its paper bridge activity.
That does not mean every folded bridge will win. The paper, gap, folds and position of the load all matter. Ask your child to describe what happened in this test, rather than announcing which design must be strongest.
Adjust the activity for their age
Ages 1–4: watch, place and pretend
For the youngest children, let an adult build and test while they watch, point or name colors. An older toddler or preschooler may enjoy placing the large block with help. Offer just two versions, flat and folded. Then turn a separate sheet into a pretend river and make crayon roads leading to the bridge. Keep the materials within the adult’s reach throughout.
Ages 4–8: predict, compare and redesign
Invite your child to draw each shape and mark “held,” “bent” or “slipped” beside it. Keep the paper, gap and block the same when comparing designs. After that, explore a new question by moving the books a little closer together. Change one thing at a time so the result is easier to discuss.
Give the bridge a story
Where does it lead: a monster library, a moon garden or a tiny animal village? Draw that place on the extra sheet. Add travelers, signs and a river underneath. Keep this decorated scene separate from the test sheets so the bridge comparison stays simple.
For another build-and-try idea, explore our easy ramp experiment. For more ways to extend a drawing, try these open-ended coloring prompts. You can also browse the Tinker & Twirl bookshelf for more invitations to draw, try and wonder.