Creative play · Paper activities · STEM at home
Paper Spinner Activity for Kids: Predict, Try and Redesign
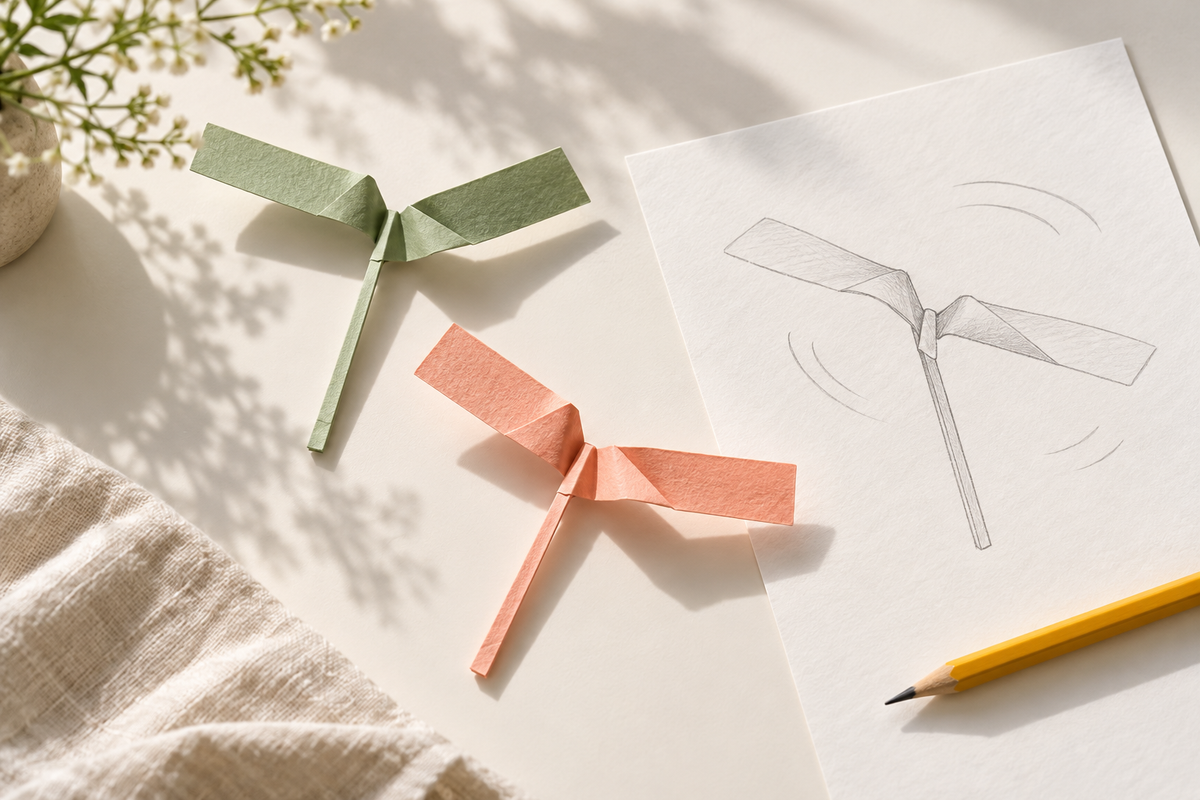
A sheet of paper can become a small design question: what will happen when you let it go? This paper-spinner invitation gives your child something to make, notice and change. The interesting part is not achieving a perfect flight. It is deciding what to try next.
Gather a few ordinary supplies
Set out plain paper, a pencil, a ruler and child-appropriate scissors. An adult should handle cutting when needed. Choose a clear indoor floor space away from faces, pets, stairs and anything breakable. Make releases while standing safely on the floor; there is no need to climb onto furniture or lean over a railing.
Build a first version
For a clearly marked construction pattern, use NASA JPL's paper helicopter instructions. Its paper design has two blades folded in opposite directions and a folded lower body. Follow the template's cut and fold marks rather than guessing which lines to cut. Keep one unaltered version as your starting point.
Before releasing it, invite a prediction. Will it spin, drift, tip sideways or fall straight down? Your child can point, draw a quick picture or describe an idea. A prediction is something to compare with what happens, not a promise to be right.
Give the first flight a small story
Choose a comfortable release height that an adult can repeat from the floor. Let go without throwing. Watch the whole journey, including the landing. Ask, “What did you notice?” Your child might care about a wobble you missed or the way one blade pointed upward. Try again before changing the design. One unusual release does not need to decide the result.
Draw a simple flight journal with three spaces: what we made, what we expected and what we saw. A spiral, a slanted line or a few words is enough. Leave room for uncertainty. “It seemed slower” is a useful observation; it does not need to become an exact measurement.
Change one thing
Make a second spinner from the same paper and pattern. Choose one feature to change, such as the length of both blades, while keeping the other features and release height similar. Label the versions A and B. Alternate releases so each has more than one turn. Which version behaves more consistently? Does your first prediction still seem useful?
If your child wants to decorate the paper, save a plain version too. Adding a large flap or heavy decoration changes the design as well as its appearance. That can become a separate question later. For now, a pencil face or a few small marks can give the spinner a character without hiding the cut lines.
Make space for different ages
Younger children can choose colours, make predictions and draw what they saw while an adult cuts and releases. Children ready for more independence can measure, label versions and explain which feature they changed. Follow the child's comfort with the tools and task rather than treating an age as a requirement.
Finish with an invention
Draw the place your spinner might land: a pumpkin village, a cloud library or a very small airport. This imaginary scene is a creative extension, not a flight result. If your child would rather make a different paper shape, keep the same habit of noticing and trying again.
For another way to explore a design, try our paper bridge activity, or browse The Curiosity Journal. Keep the first drawing beside the last one. The changes are part of the story.