Seasonal play
Pumpkin Patterns for Kids: A Simple Drawing Game
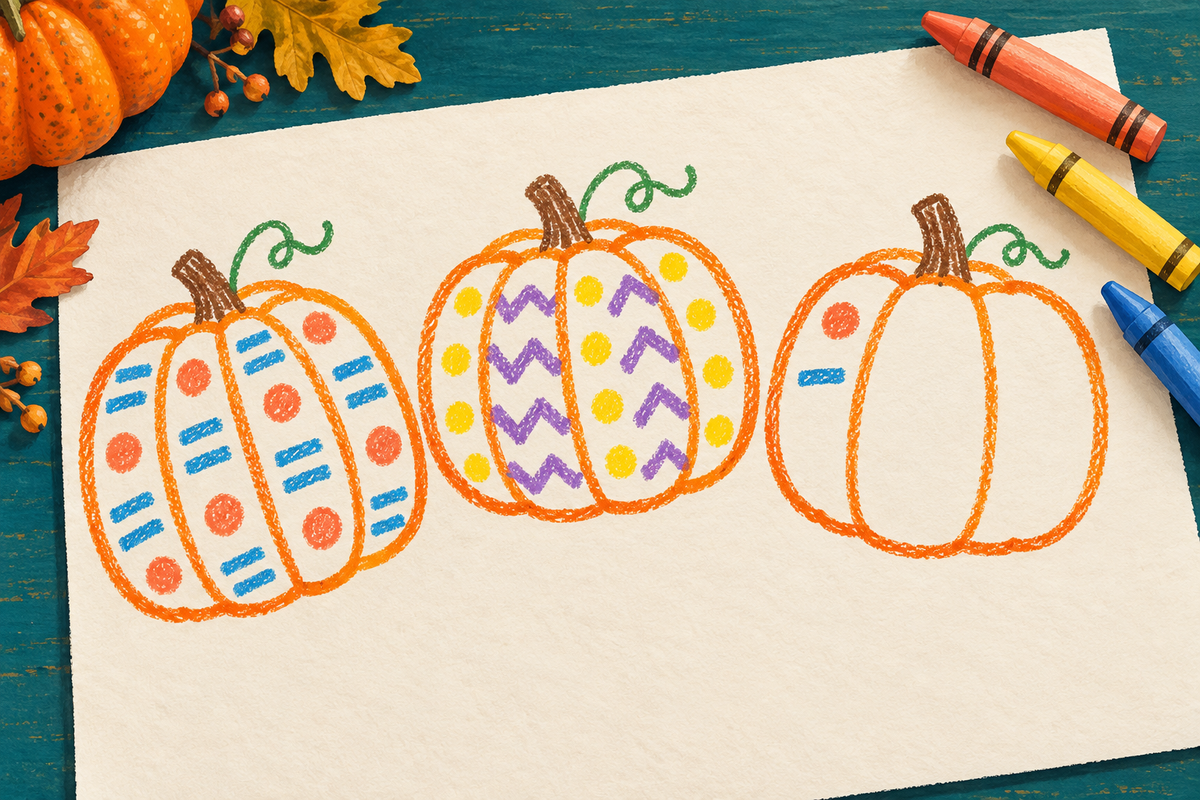
A pumpkin pattern drawing game starts with a big pumpkin outline, two crayons and a repeated mark. Try a dot, a stripe, another dot and another stripe, then invite your child to continue, change it or invent something new. You can play entirely on paper; no real pumpkin, carving or special supplies are needed.
The fun is in taking turns and noticing what appears. A pumpkin might end up covered in tiny windows, curly trails or a very surprising color. Leave room for your child's version rather than aiming for matching finished pictures.
What you need
- Plain paper with space for one or two large pumpkin outlines
- Two or three crayons suitable for your child's age
- A clear table or floor space where you can draw together
An adult can sketch a wide oval with a small stem, or your child can draw their own pumpkin shape. Keep the outline simple. For younger children, use intact chunky crayons and stay alongside them; put materials away if they start going into mouths.
Play the pumpkin pattern game in five steps
1. Make a roomy beginning
Draw one large pumpkin or a pair side by side. Leave most of the middle empty. Ask your child which crayon they would like first. Orange is an option, not a rule.
2. Choose two marks
Try a dot and a short stripe, a curl and a zigzag, or a small circle and a larger circle. Make each mark big enough to notice. You can use one color for both marks or a different color for each.
3. Start a repeat
Across a small part of the pumpkin, draw dot, stripe, dot, stripe. A repeating pattern uses the same group again: here, the group is a dot followed by a stripe. Point to the marks as you say them together, then pause and offer the next turn.
4. Take turns or change the rule
One person adds a mark and the other adds the next. If your child chooses a different mark, you can follow their new idea instead of correcting it. Try asking, “What comes next in your version?” The activity can become free drawing whenever that feels more enjoyable.
5. Leave a space for a surprise
Keep one patch blank. Invite your child to fill it with anything they choose: a pocket, a face, a tiny house or a trail that wanders beyond the pumpkin. Finishing every space is optional.
Adapt it for ages 1–4 and 4–8
For ages 1–4: begin with a large outline and one crayon. Offer broad marks or simply make dots alongside your child. Naming their choices can be enough: “You made a long line.” A formal repeat is optional, especially for the youngest children. Keep the session short and follow their interest.
For ages 4–8: invite your child to invent a group of two or three marks, repeat it along a curved row, or make a second pumpkin with a new rule. They could create a pattern for you to continue, then decide whether to keep your addition or change it.
Three playful ways to try it again
- Trade colors: keep the marks the same but swap crayons halfway through.
- Make a pumpkin family: give each pumpkin its own pattern, then invent a name for it.
- Take the pattern outside the outline: turn repeated dots into a path or zigzags into a fence.
You do not need a perfect example to copy. NAEYC's guidance on exploratory art emphasizes giving children choices and space to explore materials. Here, the suggested repeat is just a starting invitation; your child can take the drawing somewhere else.
Keep the autumn ideas going
Try our friendly Halloween drawing prompts for more characters, or make a different kind of pattern with colorful leaf rubbings. If your child enjoys an outlined starting point, browse the Tinker & Twirl bookshelf for more coloring and play ideas.
Two crayons, a roomy pumpkin and one shared beginning are plenty. Let the next mark belong to your child.